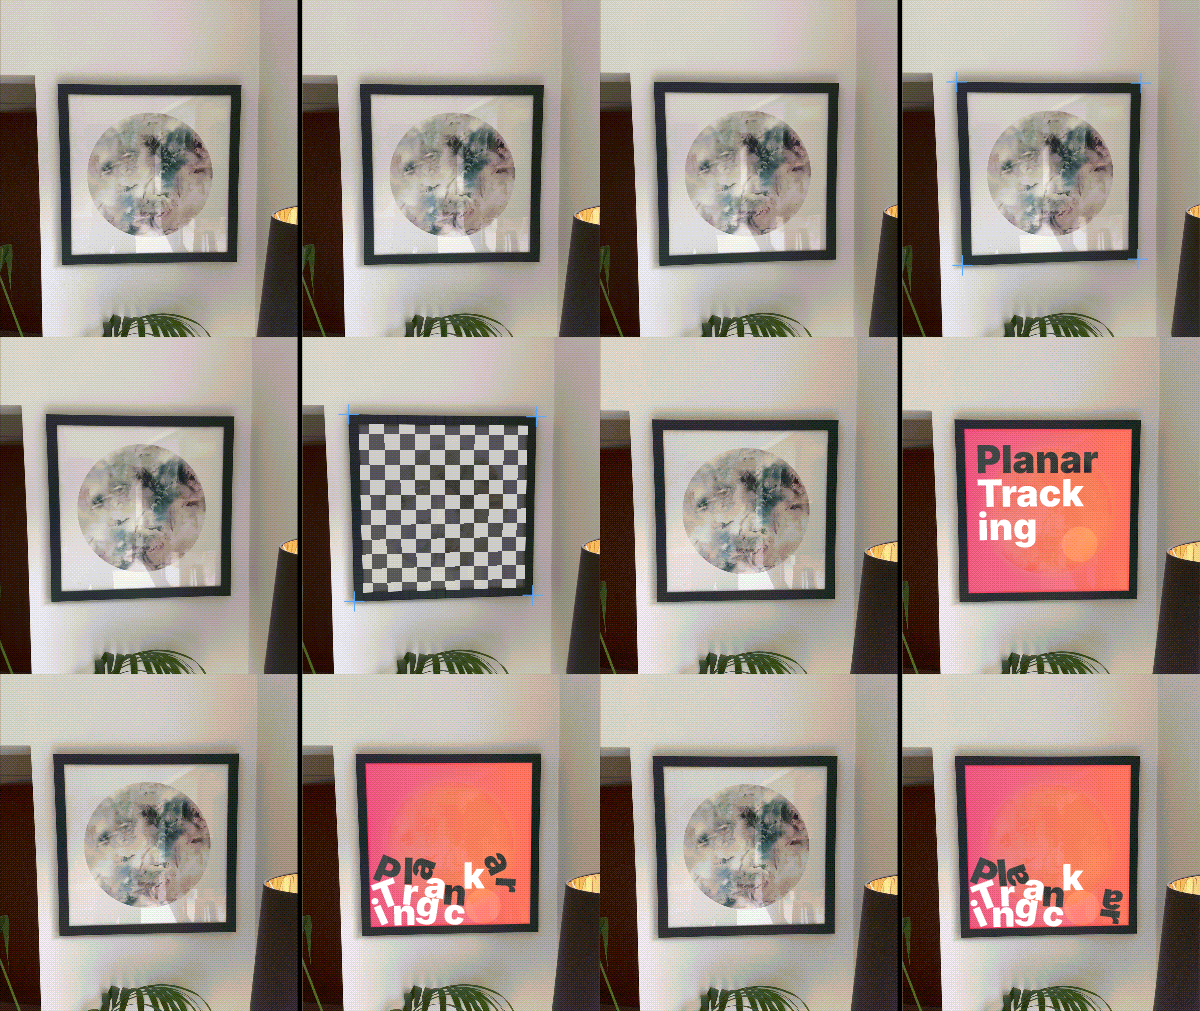
Tracking tool
Pro Feature
Pro features are only available with a Professional licence. Starter licences can evaluate most Professional features via the Try Pro button at the top of the Viewport. To upgrade, visit cavalry.scenegroup.co.
Intro
Track flat surfaces (planes) in video footage and overlay graphics/animation with a Corner Pin Shape.
This is useful for tasks like screen replacement.

Tracking is fully automated and footage can be tracked forwards or backwards meaning it can be started from any frame.
info
Planes which include tracking markers and where obstructions are minimal and brief will provide the best results. Presets like ‘Edge Snap’ and ‘Robust’ may help track low quality footage when the default ‘Balanced’ mode doesn’t return a good track.
UI
See Tool Settings.
Workflow
- Import some footage to the Assets Window.
- Drag the video/image sequence asset from the Assets Window into the Viewport.
- Go
Tool > Trackingto enable the tool. - Select the Footage Shape in the Scene Window.
- Place 4 tracking markers onto each corner of the device/billboard to track. Click and then drag to place – once all markers are placed they can be repositioned.
- Click 'Track' in the Tool Settings window.
- Create a Rectangle and add a Checkerboard Shader to it.
- With the Rectangle selected, click 'Apply' in the Tool Settings window and pick the relevant tracking data (it will be named based on the Footage Shape).
This will create and connect a Corner Pin Shape to the Rectangle and assign the tracking data to each of the Corner Pin's Nulls.